


However, the good news is that I a) learned a lot for next time b) I stalked many blogs trying to find 'an easier way' (which means I can add some new ones to my ever expanding list) and c) you can learn from my mistakes.
My littlest human had her first birthday yesterday (the party is this weekend) so her invites went out some time ago. I can tell you that I consumed WAY too much time on them, like hours and hours. We have a large family so I had to make quite a few. Her theme is Elmo (because he is the main squeeze in our house of pink) and piecing him together was fun but a ton more work than I had anticipated. Also, I changed my mind on how I wanted them to look a few too many times.
Fast forward to my current project of making my older daughter's invites. I decided that after the first round of invites and all the hours I put into them, I really needed to keep it simple. (After all, no matter how cute they are, I am sure my guests were just going to chuck them, right?) During my stalking adventures I learned that keeping it simple can look really nice. Some of the projects were so adorable, easy, and most importantly SIMPLE! So here is my version of a simple invite that I think is really cute.
 |
| Here's the front-cute but very simple! |
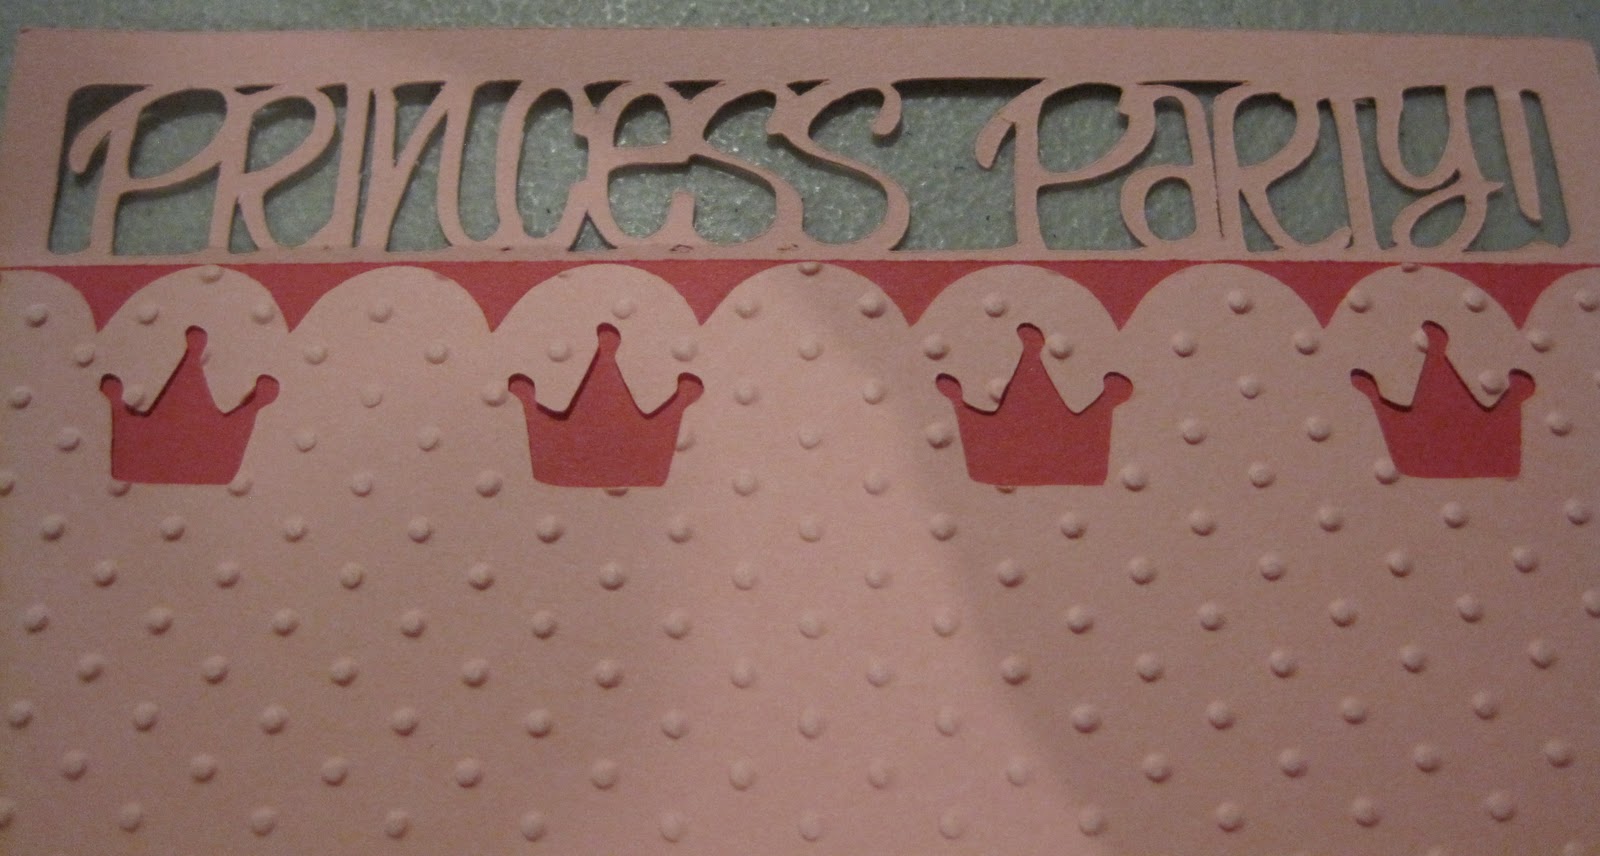 |
| This is close-up of the side...can we say intricate cuts? I had to make sure my invite was a little larger so it didn't rip up the paper. Cute, no?! |
 |
| Here is the inside. The yellow post-it is just covering up my address. I wanted the left side to be open because I had a few invites I had to write personal messages in. |
Recipe:
*Three different colors of cardstock
*Coordinating ribbon
*Once Upon A Princess Cartridge
*Corner Rounder
*Choice of Adhesive
Thanks for stopping! I'll be making Elmo Cake Pops for the birthday party this weekend so I'll be sure to post how that goes (along with pictures of the final project). I've never made them before either so *fingers crossed* (a few prayers wouldn't hurt either!) that all goes as planned!


1 comments:
LOVE IT!!!
Post a Comment